
Focused starting point
AI Photo Editor is already tuned for clean retouch; add only the subject or scene details that matter.
AI photo editor
Describe a photo change in natural language and receive an edited result.
Buy credits once to unlock more models and 2K or higher resolution.
Credits for this run: 4
Track AI Photo Editor tasks and inspect finished results here.
Prompts are screened before eligible AI image requests are sent to a model. Do not submit NSFW, sexually suggestive, harmful, deceptive, or infringing content. Read the Acceptable Use Policy
The AI photo editor gives you a focused workspace for an edited photo that keeps the important subject while applying the requested change. Start with one source photo and a clear edit request, then use the page-specific controls to shape the result.
Compare the illustrative AI Photo Editor example and its built-in direction, then inspect your generated result in the workbench above.
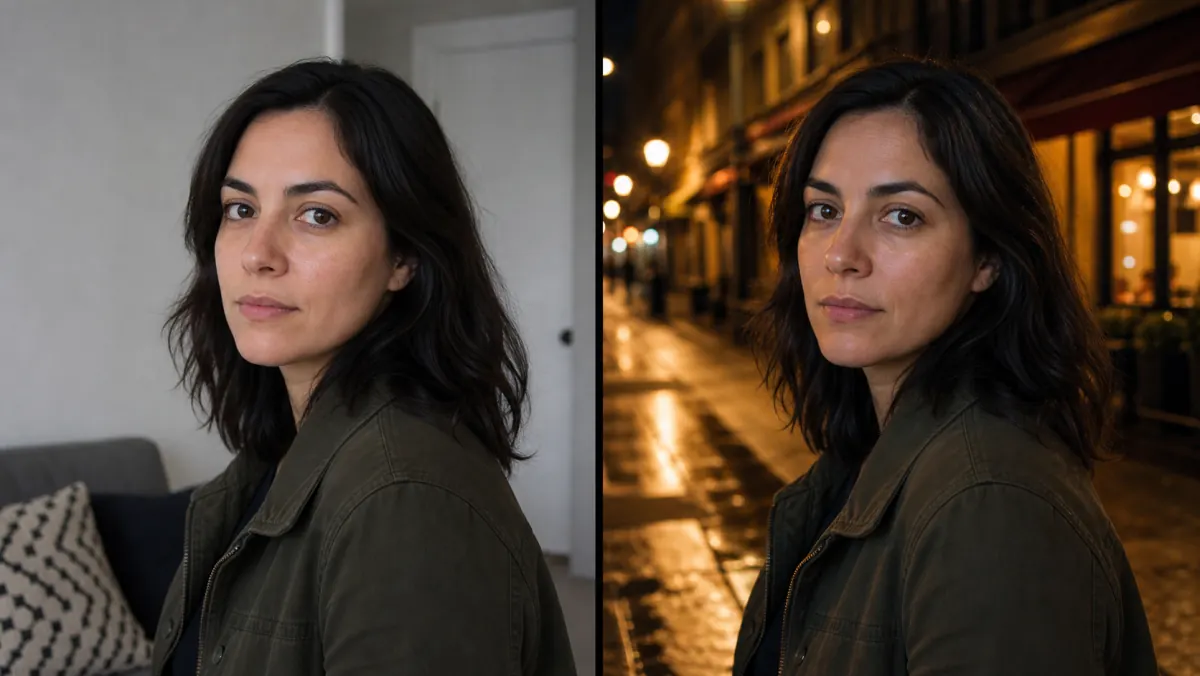
Illustrative before-and-after photo edit—not your generated result. Check subject identity, pose, lighting, and edge continuity in your own output.
Clean Retouch
Clean Retouch is tuned for an edited photo that keeps the important subject while applying the requested change.
AI Photo Editor starts with one source photo and a clear edit request; check that the important subject is clear.
In AI Photo Editor, add the details that matter, then choose the crop ratio and resolution when available.
Inspect the full AI Photo Editor result, then download it or reuse it as a new reference.
AI Photo Editor is already tuned for clean retouch; add only the subject or scene details that matter.
AI Photo Editor lets you choose a portrait, square, landscape, or vertical canvas when the task supports reframing.
Results depend on the clarity of the input and may need another pass for fine text or small details.
Uploads accept PNG, JPG, and WebP files. Completed results stay in your private task history for full-size review, reuse, and download. The action button shows the credit cost before each run.
Use AI Photo Editor for clean retouch concepts, then add only the subject or scene details that matter to your result.
Adapt the AI Photo Editor result for a post, story, profile, presentation, or private share when the format fits.
AI Photo Editor can explore a visual direction before you commit time to a finished campaign, print, or personal project.